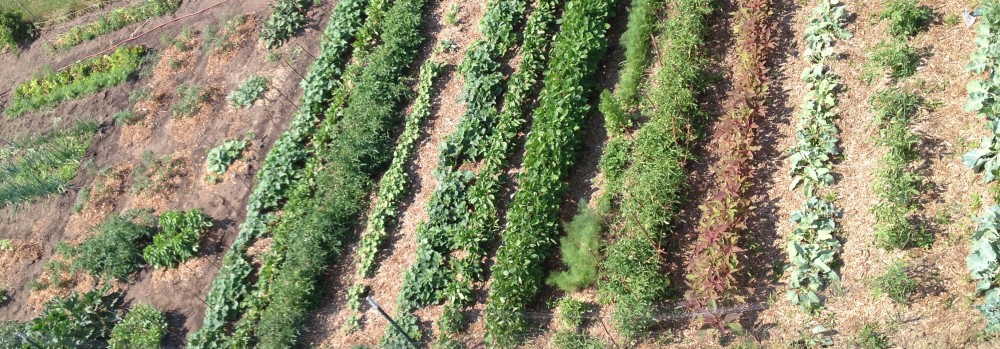
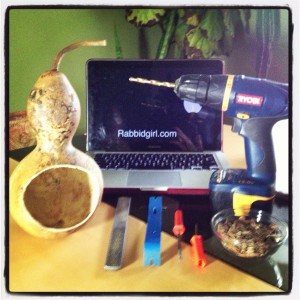
Beginning another project already. When will I ever learn to not start things unless I finish the things I have already started? Well at least it keeps it interesting here and it gives me something to do while another project dries and cures. Now Lets talk gourds. If you are looking for a craft that is cheap to do, useful around the house when it is done, or just something that maybe you can get the kids to do, then plant some gourds and lots of them! They are easy to grow in the garden. They do tend to take up quite a bit of room in the garden so I just make sure not to grow them around my edibles because they do become an insane vine mess. As to my surprise, The gourds I have grown do not tend to get the powdery mildew as much and have been pretty resistant to some pests. Since you do not eat them, I, personally, do not mind giving them the proper dose of insecticide when I need to. Now you can find all sorts of gourd shapes and sizes but I went with the standard Birdhouse gourd. You do not have to limit your imagination when you choose your gourd. I do not need birdhouses so I will have to think of things I can do with each one. The one I have chosen for this post will be just a feeder.
I will take you back to harvest time. I harvested mine after the few hits of frost killed the leaves. As for drying. I left them in the cool garage for a few weeks, then brought them in to speed up the drying process.I will give you my first warning about this. Drying gourds get mold and mildew so if you are allergy prone you might not want to dry them in a space you will be in a lot.
Now some people would just leave them out in the cold and risk them rotting and not drying so if you choose to do this beware they might just turn into a squishy mess. Another place you can do it is in a cool basement. It will go slower there but at least you can let them go unattended for longer periods of time and keep the slight stink, mold and mildew out of living quarters. But as for me. I want almost instant gratification. I went all in and put them as decor in my living room. We do not mind introduction to things like that. I was very watchful of these. I did wash them every time there was growth of mold or mildew. It would look a little fuzzy and in a warm soapy bleach bath they went, then scrubbed down with a mix of baking soda and salt, then dried as mush as I could. Try to avoid dry rubbing it. The wet baths keep the spores from flying all around and with the bleach, baking soda and the salt you penetrate the gourd skin a little making it harder for it to regrow. Do not worry when you wash it, some of the skin will slough off, just take a scrubbie to it and work it slightly until none remains.
Now every week I give them an ole shake after their bath. You will know the gourd is dry when you hear a good rattle from the seeds inside. It will sound completely hollow. At this time let it dry for another week to make sure it does not produce anymore fuzzy mold or mildew. When it produces no more, then it is time to get to work.
Sometimes you can just look at the gourds you have and say “This looks like it will be a ________” And you can leave it whole and paint it or you can empty the contents and use the hollow interior for a function. The one in this post I had seen as a bird feeder right away. It was the runt of the litter. It had warts and scars. It was not as symmetrical and beautiful as the others were and it could not sit upright very well. Plus, The birds out there are hungry and they do not like the store bought plastic cheap feeders I had obtained on sale. They sure are picky for being little beggars.
Step one: Soak in soapy bleach (I use a tablespoon of bleach for a sink full). Soak for 5 minutes to ensure that when you cut the mold/mildew dust does not float around the house and into your nose and lungs. Wear a mask if you can when working on the dusty part of this. Pat gourd dry.
Step two: You will need a drill and drill the biggest hole you can for less work. From the center of the hole, freehand draw how you want the open mouth of it to be taking in consideration bird size and a lip for seed to be poured into.
To be continued …….


